


XML Toolkit With E-Invoice export for Perfex CRM. With Lifetime Update.
$12.90
| Features | Values |
|---|---|
| Version | v1.0.1 |
| Last Update | 17 December 2023 |
| Premium Features | Yes |
| Instant Installation Support | 24 Hrs. |
| Scanned By Virus Total | ✅ |
| Live Preview | 100% Working |
17
Items sold in last 3 minutes
224
People watching this product now!
Description
The XML Toolkit module for Perfex CRM facilitates the downloading, viewing, and exporting of XML data. It ensures full compliance with EU regulations for E-invoices and enables bulk exporting of all invoices.
How It Works / Steps to Use the XML Toolkit
Using the XML Toolkit with E-invoice Export for Perfex CRM is straightforward. Follow these simple steps to streamline your XML data management:
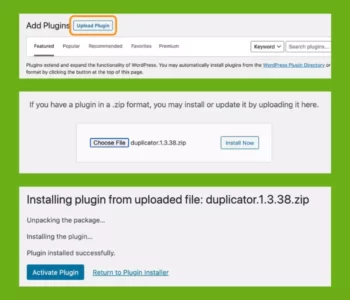
- Installation: Begin by uploading the XML Toolkit module file in the Perfex CRM ‘Modules’ section. Click on ‘Install’ to integrate it with your Perfex CRM system.
- Configuration: Once installed, navigate to the module’s settings. Configure the module according to your needs, including setting up any necessary API keys or preferences for E-invoicing.
- View and Manage Invoices: Access your invoices under the XML Toolkit module. Here, you can view all your invoices, and manage them as required.
- Export Invoices: Select the invoices you wish to export and export them in bulk or individually.
- Download and Send E-invoices: Download the exported XML files directly to your system. The module also allows you to automatically send E-invoice XML files via email to relevant parties.
- Permission Management: Manage staff permissions within the module to control who can view, export, or send E-invoices, ensuring data security and compliance.
- Support: If you encounter any issues or have questions, easily access support by opening a ticket through the module’s interface.
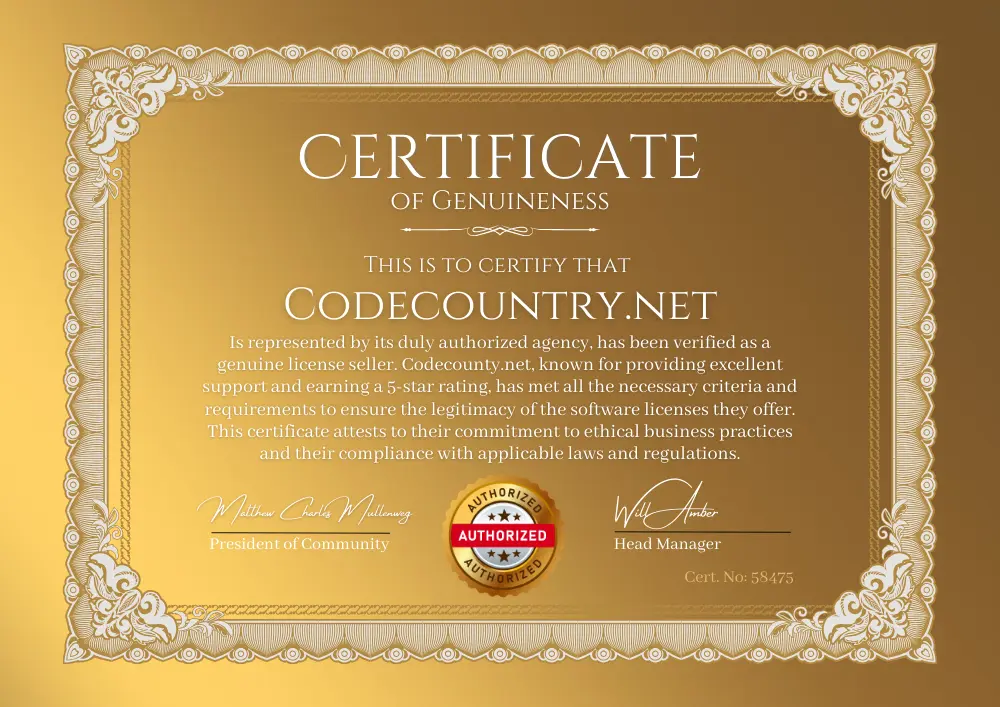
🌟100% Genuine Guarantee And Malware Free Code.
⚡Note: Please Avoid Nulled And GPL PHP Scripts.
Reviews (0)
Only logged in customers who have purchased this product may leave a review.
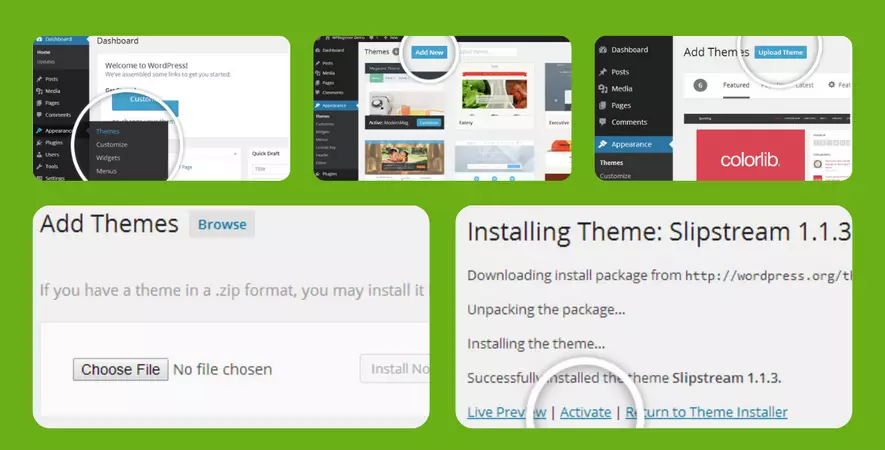
Installation Process
Certification


Reviews
There are no reviews yet.