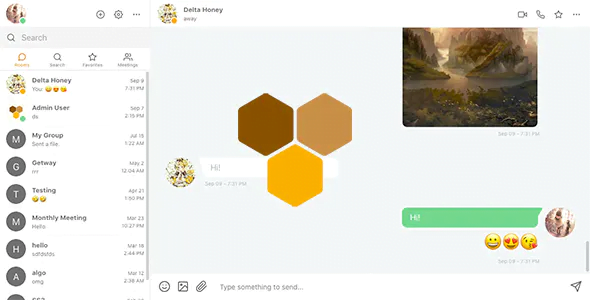
Clover – Real-Time Messaging, Audio & Video Conferencing Web App – Node.js, React, WebRTC, Socket.IO With Lifetime Updates.

$24.90

Features Values
Version v2.9.0
Last Update 14 February 2024 
Premium Features Yes
Instant Installation Support 24 Hrs.
Scanned By Virus Total
Live Preview 100% Working
18 Items sold in last 3 minutes
210 People watching this product now!
SKU: 33232 Categories: ,
Description

Announcement:

Clover, an instant messaging & conferencing web app with audio/video capabilities, now offers beta and stable v2 source code downloads. Additional installation instructions for v3 beta are available. Please refer to the v3 README file for details.

Features in v3 beta:

– Redesigned UI
– Files stored within MongoDB
– Password reset and welcome email
– Profile editing and password change
– Access point for finding people, creating groups, scheduling meetings
– Improved mobile UI and resource management
– Enhanced speed and scalability
– New groups system
– Dockerization
– Full installation script with Docker and Docker Compose
– English (default) and Italian translations
– Admin panel for user management
– Calendar/meeting scheduler

Under development:

– New meetings and notifications systems
– Migration script from v2 to v3

🌟100% Genuine Guarantee And Malware Free Code.

⚡Note: Please Avoid Nulled And GPL PHP Scripts.

Reviews (0)

Reviews

There are no reviews yet.

Only logged in customers who have purchased this product may leave a review.

Installation Process

WordPress Theme Installation

  1. Download the theme zip file after purchase from CodeCountry.net
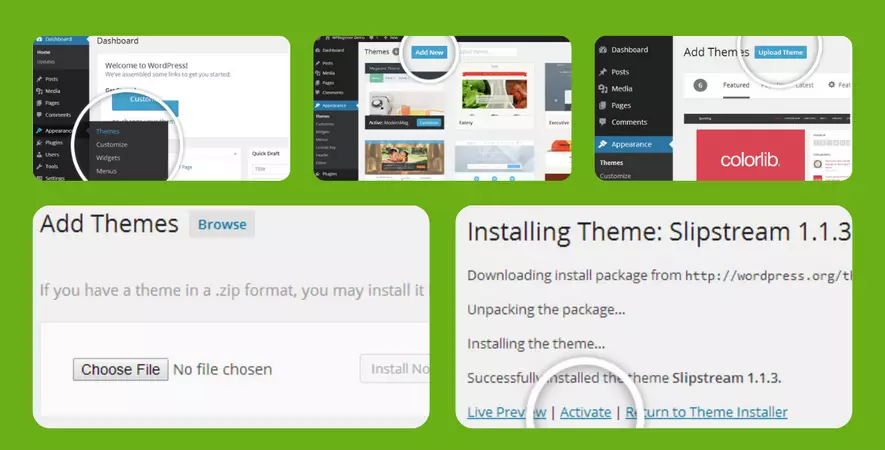
  2. Then, log in to your WordPress account and go to Appearance in the menu on the left of the dashboard and select Themes.
  3. On the themes page, select Add New at the top of the page.

  4. After clicking on the Add New button, select the Upload Theme button.

  5. After selecting Upload Theme, click Choose File. Select the theme .zip folder you've downloaded, then click Install Now.
  6. After clicking Installa message will appear that the theme installation was successful. Click Activate to make the theme live on your website.

WordPress Plugin Installation

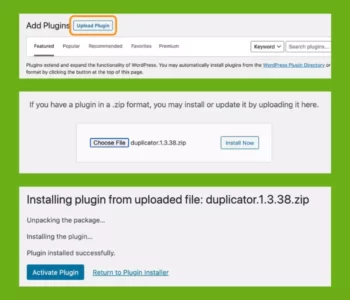
  1. Download the plugin zip file after purchase from CodeCountry.net
  2. From your WordPress dashboard, choose Plugins > Add New
  3. Click Upload Plugin at the top of the page.

  4. Click Choose File, locate the plugin .zip file, then click Install Now.

  5. After the installation is complete, click Activate Plugin.
Certification

This certificate represents that the codecountry.net is an authorized agency of WordPress themes and plugins.