Assets Management module for Perfex CRM – Organize company and client assets With Lifetime Update.
$8.90
| Features | Values |
|---|---|
| Version | v1.1.0 |
| Last Update | 14 March 2024 |
| Premium Features | Yes |
| Instant Installation Support | 24 Hrs. |
| Scanned By Virus Total | ✅ |
| Live Preview | 100% Working |
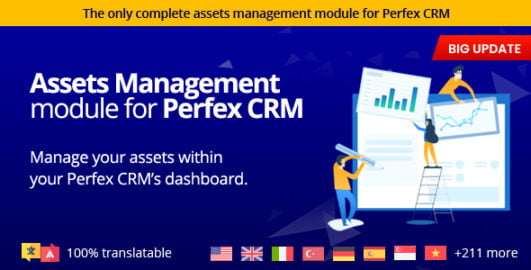
The Assets Management Module for Perfex CRM allows users to manage company assets directly within the Perfex dashboard. Users can categorize assets based on groups, locations, and units, and assign them to staff members. See below for a complete list of functionality actions.
Assets Management Module contains the following functionality:
- Create assets (editing/removing it aswell)
- Create customer-based Assets, corporate-only assets and mixed ones
- Revoke an asset
- Add additional assets in existing asset
- Assign an asset on a specific staff user
- Trasnfer assets between users
- Report an asset loss
- Report an asset as a broken one
- Liquidation record of an asset
- Warranty record of an asset
- Allocated Assets list
- Revoked Assets list
- Deprecated Assets list
- Ability to separate assets based on unique units, asset groups and asset locations (listing aswell)
- Ability to add images to your assets (publicly accessible, through changeable constant for uploadsdir)
🌟100% Genuine Guarantee And Malware Free Code.
⚡Note: Please Avoid Nulled And GPL PHP Scripts.
Only logged in customers who have purchased this product may leave a review.
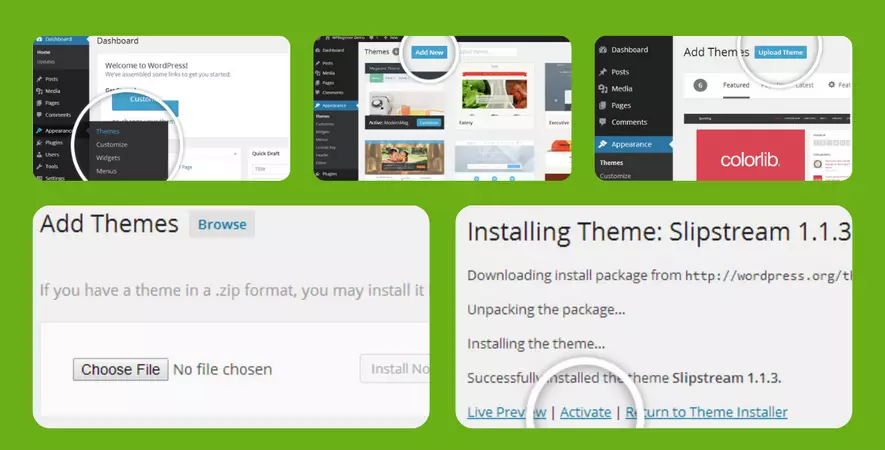
WordPress Theme Installation
- Download the theme zip file after purchase from CodeCountry.net
- Then, log in to your WordPress account and go to Appearance in the menu on the left of the dashboard and select Themes.
On the themes page, select Add New at the top of the page.
After clicking on the Add New button, select the Upload Theme button.
- After selecting Upload Theme, click Choose File. Select the theme .zip folder you've downloaded, then click Install Now.
- After clicking Install, a message will appear that the theme installation was successful. Click Activate to make the theme live on your website.
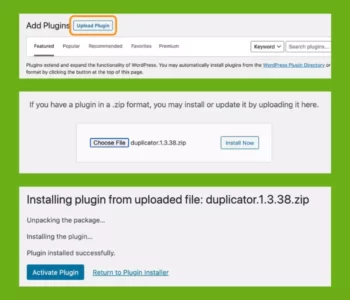
WordPress Plugin Installation
- Download the plugin zip file after purchase from CodeCountry.net
- From your WordPress dashboard, choose Plugins > Add New
Click Upload Plugin at the top of the page.
Click Choose File, locate the plugin .zip file, then click Install Now.
- After the installation is complete, click Activate Plugin.

This certificate represents that the codecountry.net is an authorized agency of WordPress themes and plugins.







Reviews
There are no reviews yet.