Woocommerce Easy Checkout Field Editor 3.7.0 With Lifetime Update.
$6.90
| Features | Values |
|---|---|
| Version | v3.5.9 |
| Last Update | 22 December 2023 |
| All Premium Features | Yes |
| Instant Installation Support | 24 Hrs. |
| Scanned By Virus Total | ✅ |
| Live Preview | 100% Working |
17
Items sold in last 3 minutes
354
People watching this product now!
SKU:
26785
Categories: Subscription, WordPress, WordPress Plugin
Description
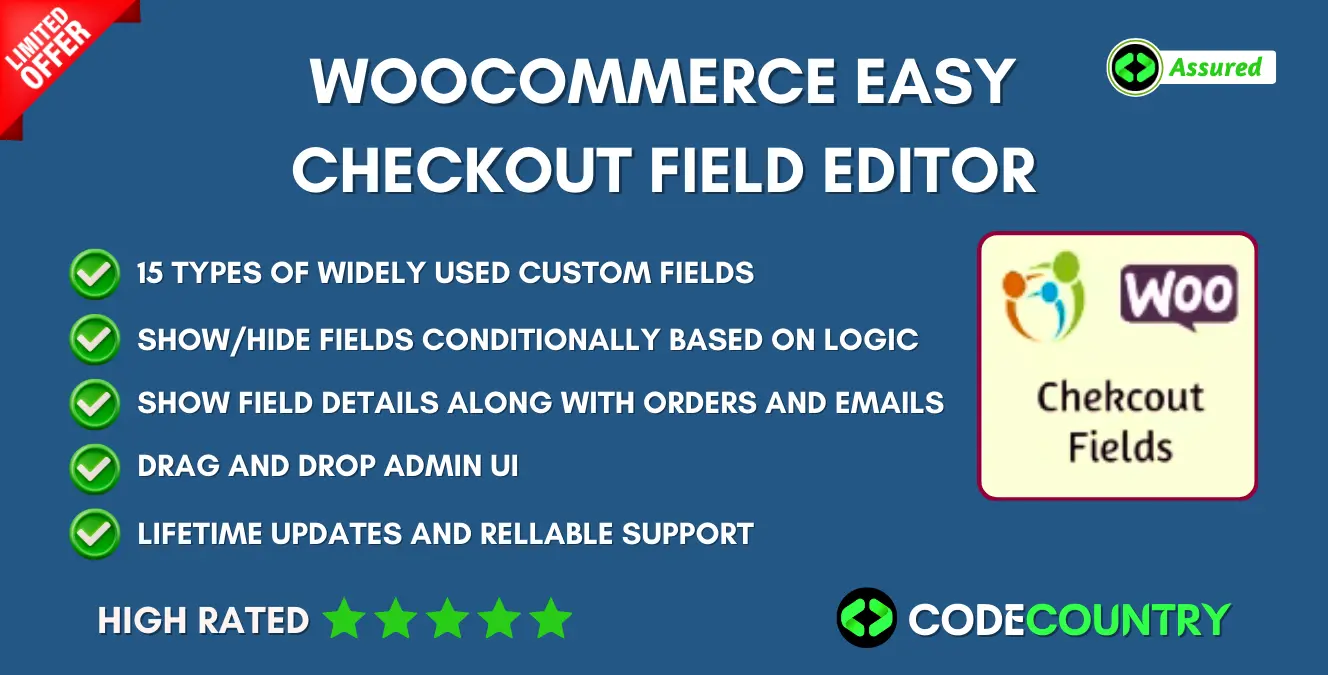
Woocommerce Easy Checkout Field Editor 3.7.0 With Lifetime Update. Our WooCommerce checkout field editor Plugin is a comprehensive tool for adding, editing, and managing checkout fields. It aims to address all checkout page and field related issues.
Woocommerce Easy Checkout Field Editor 3.7.0 Features.
- Support For Additional FIelds
- Show submitted field details in order conformation and view order page.
- Restore to Default fields
- Show submitted field details in order edition page.
- Add new Custom Fields to Existing Shipping and Billing Address Form
- Conditional Checkout Fields
- Show submitted field details in WooCommerce PDF Invoices & Packing Slips invoices.
- Possibility to show fields only if cart contains specified products or products from certain category
- Edit /Manage Default woocommerce checkout fields
- Show submitted field details in order emails.
- Remove Default woocommerce Checkout fields
- Reorder Custom fields with drag and drop UI
- Show fields Under My Account/Edit Address Page.
- Field Preview In Admin Panel
Reviews (0)
Only logged in customers who have purchased this product may leave a review.
Installation Process

WordPress Theme Installation
- Download the theme zip file after purchase from CodeCountry.net
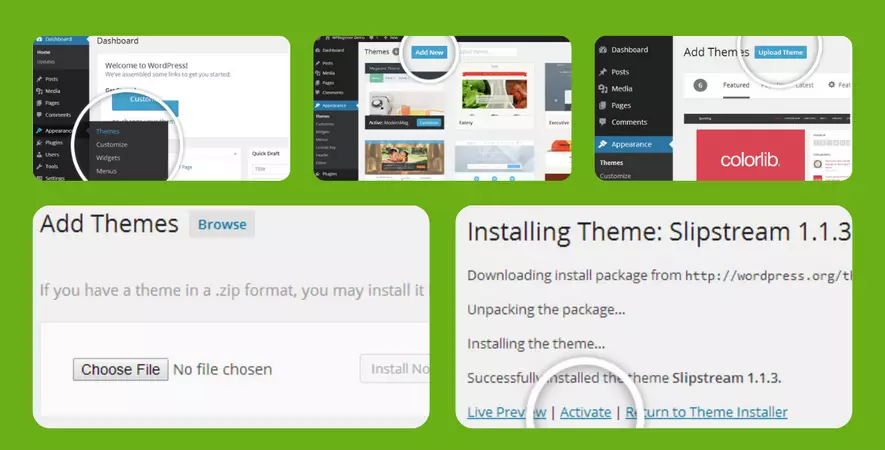
- Then, log in to your WordPress account and go to Appearance in the menu on the left of the dashboard and select Themes.
On the themes page, select Add New at the top of the page.
After clicking on the Add New button, select the Upload Theme button.
- After selecting Upload Theme, click Choose File. Select the theme .zip folder you've downloaded, then click Install Now.
- After clicking Install, a message will appear that the theme installation was successful. Click Activate to make the theme live on your website.
WordPress Plugin Installation
- Download the plugin zip file after purchase from CodeCountry.net
- From your WordPress dashboard, choose Plugins > Add New
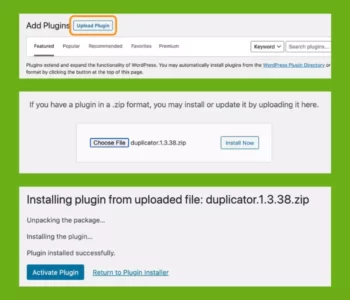
Click Upload Plugin at the top of the page.
Click Choose File, locate the plugin .zip file, then click Install Now.
- After the installation is complete, click Activate Plugin.

Certification

This certificate represents that the codecountry.net is an authorized agency of WordPress themes and plugins.
Related products
Elementor Sheets Elementor Pro Form Google Spreadsheet Addon [Lifetime Update]
Rated 5.00 out of 5
$7.60


Reviews
There are no reviews yet.